This post is also available in ITALIANO
Hardwood floors don’t go through trends. This is a fact.
But it’s also true that if you install it badly the whole room can be ruined.
But what does it mean to install a hardwood floor the right way?
There are two things to consider:
- installation technique
- installation geometry
Installation technique
There are two installation techniques for hardwood floors:
Glue Down | the hardwood battens (10 or 15 mm high) are directly glued to the base. This is the best technique if you are installing it directly over a pre-existing floor or over a heating flooring.
Nail Down | the battens and the 23 mm-high boards, with male-female joints on every side, are nailed or screwed. Width varies from 9 to 21 cm, and the pieces can be up to 2,5 m long (or 4 m for larch wood). For the base several techniques can be used: you can drown the joist in concrete, install some roots or use a phenolic or OSB panel where to screw the boards. This way the floor can be examined whenever you want.
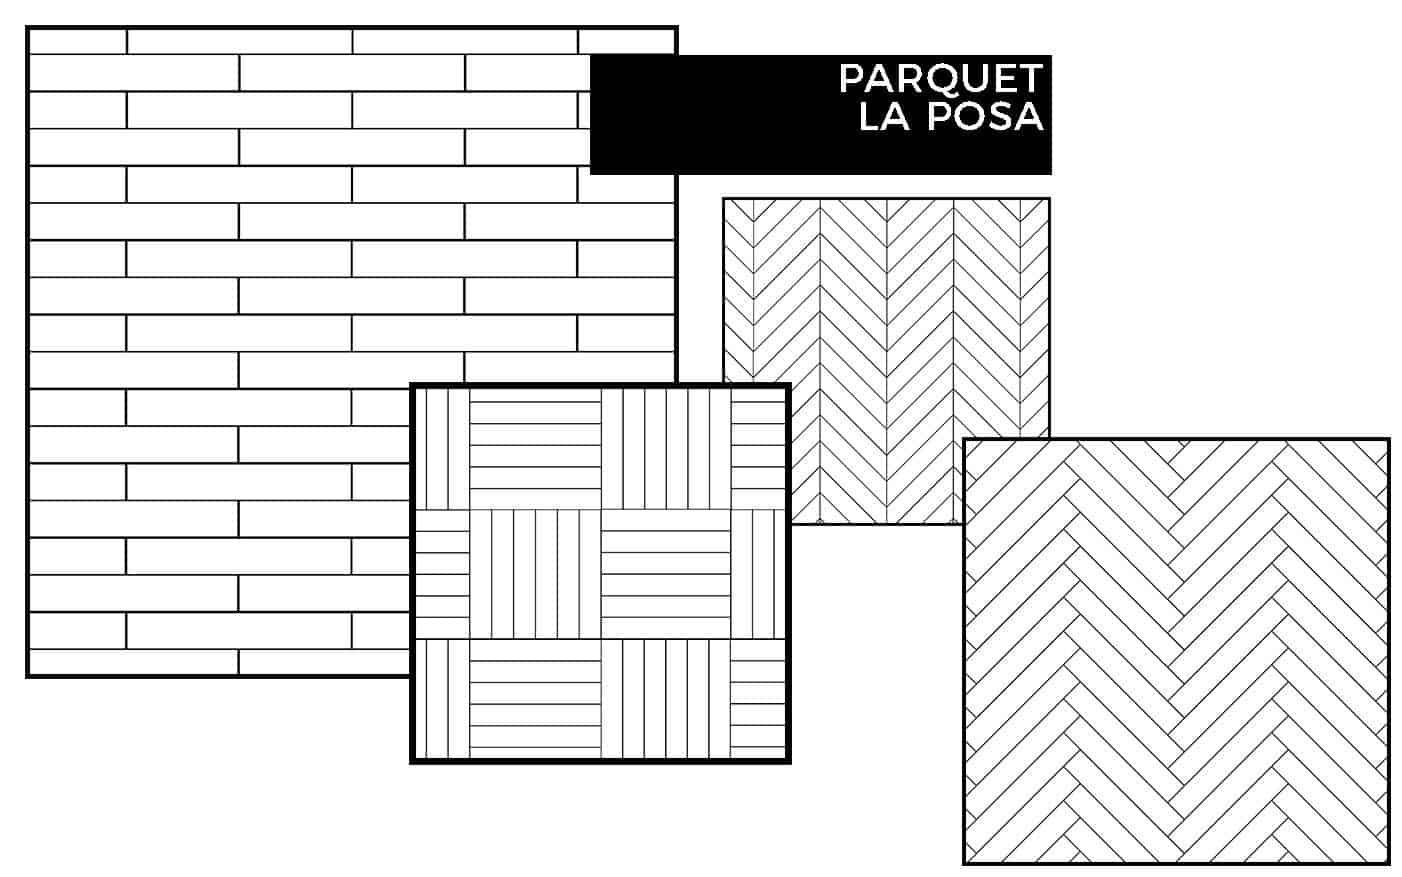
Installation geometry
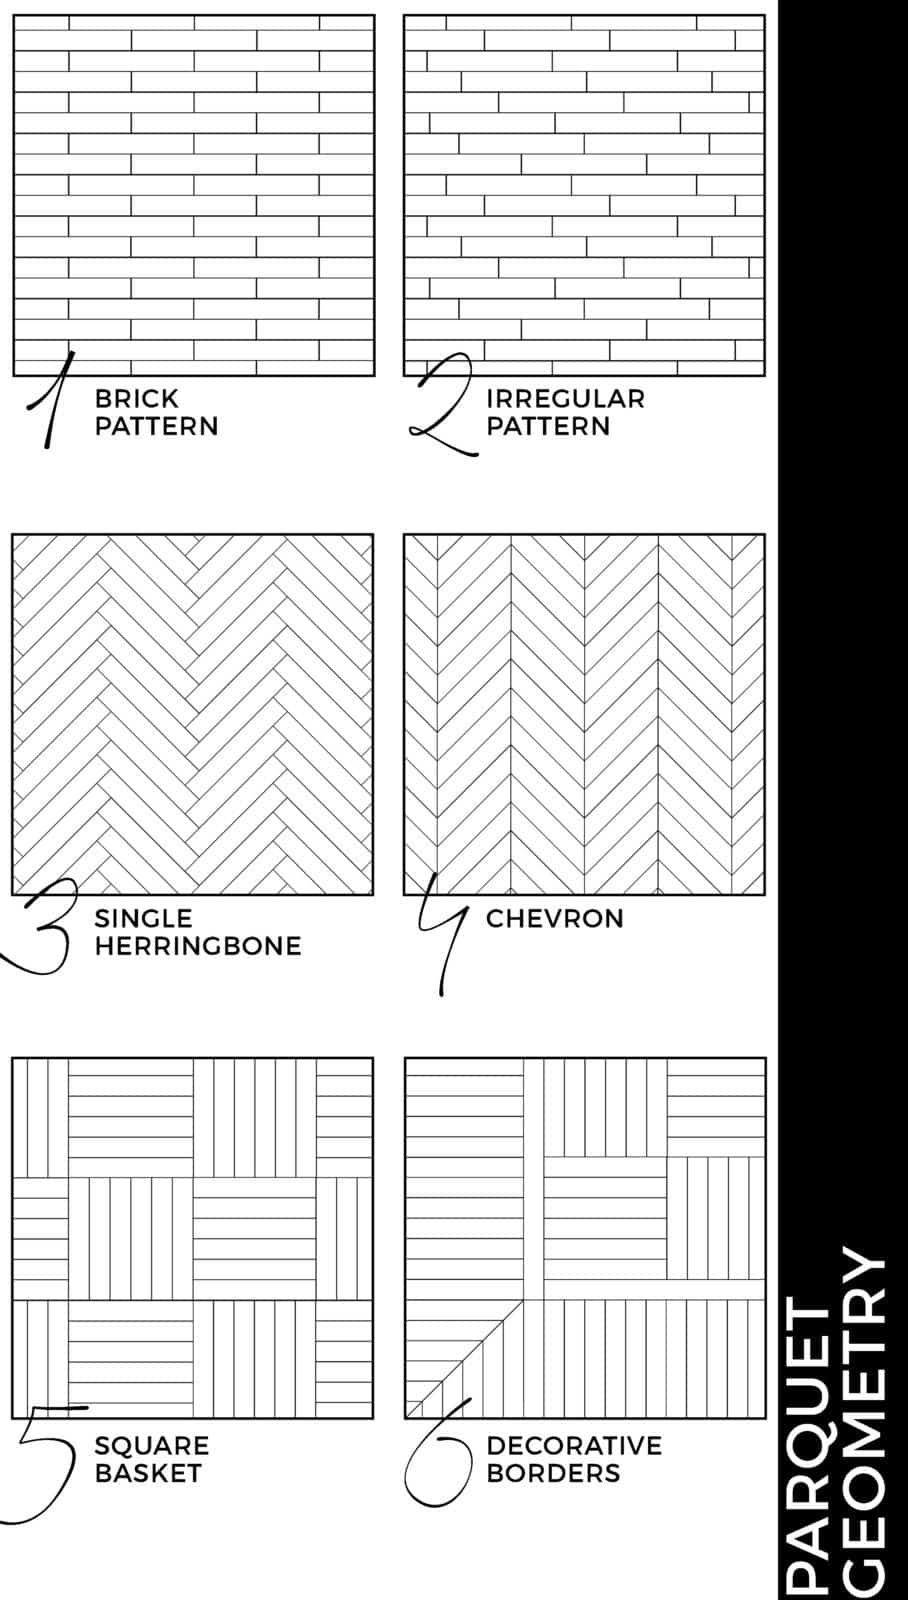
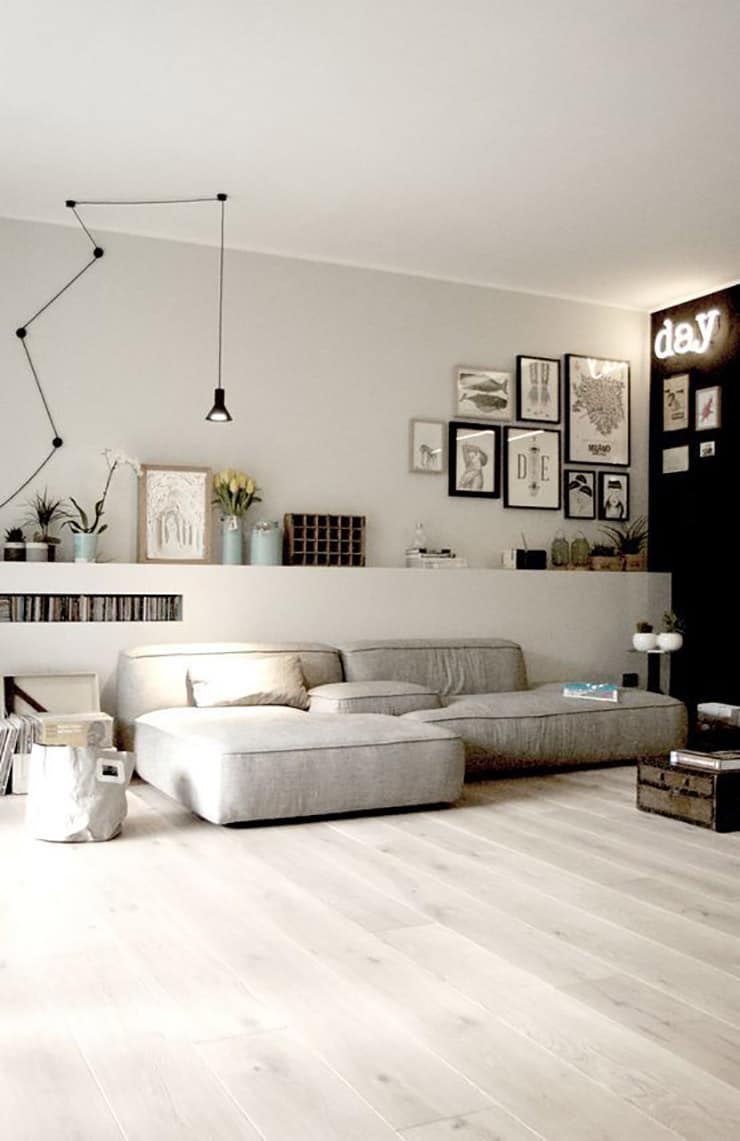
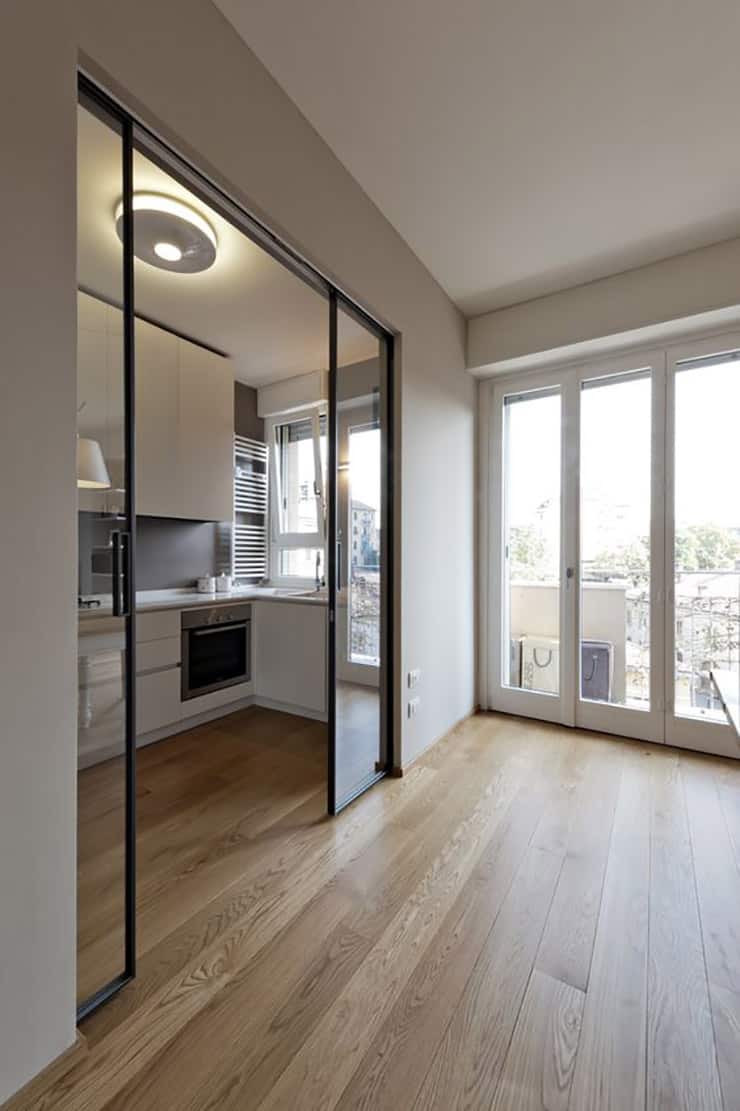
1. Brick pattern
The battens, in the same format, are arranged in such a way that the head joints are in the same position in relation to each list of the row next to them.
Tips
- arrange the batten sideways to the main light source
- in case of rooms with out-of-line walls, install the battens inclined to all the walls
- the installation must be centered on the main door
- if you want to make the room look longer, install the panels perpendicular to the main door
- if you want the room to look wider, install the panels parallel to the main door
- install the battens with the head joints at ⅓ of the following row, and not on the centreline
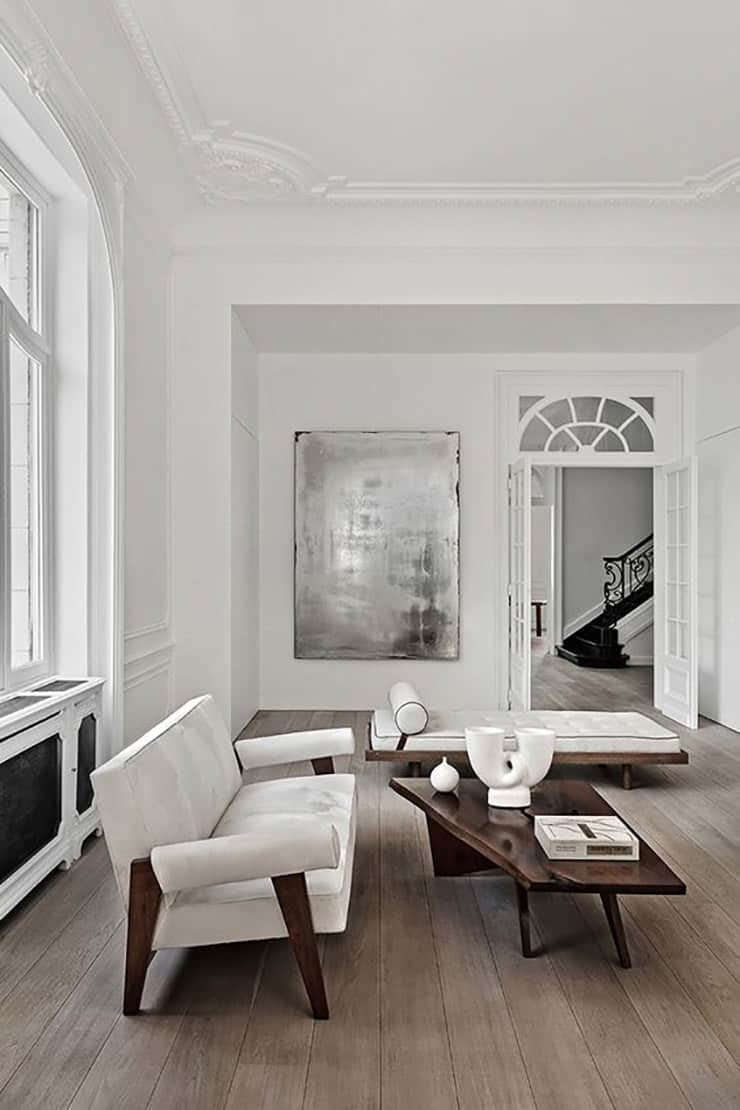
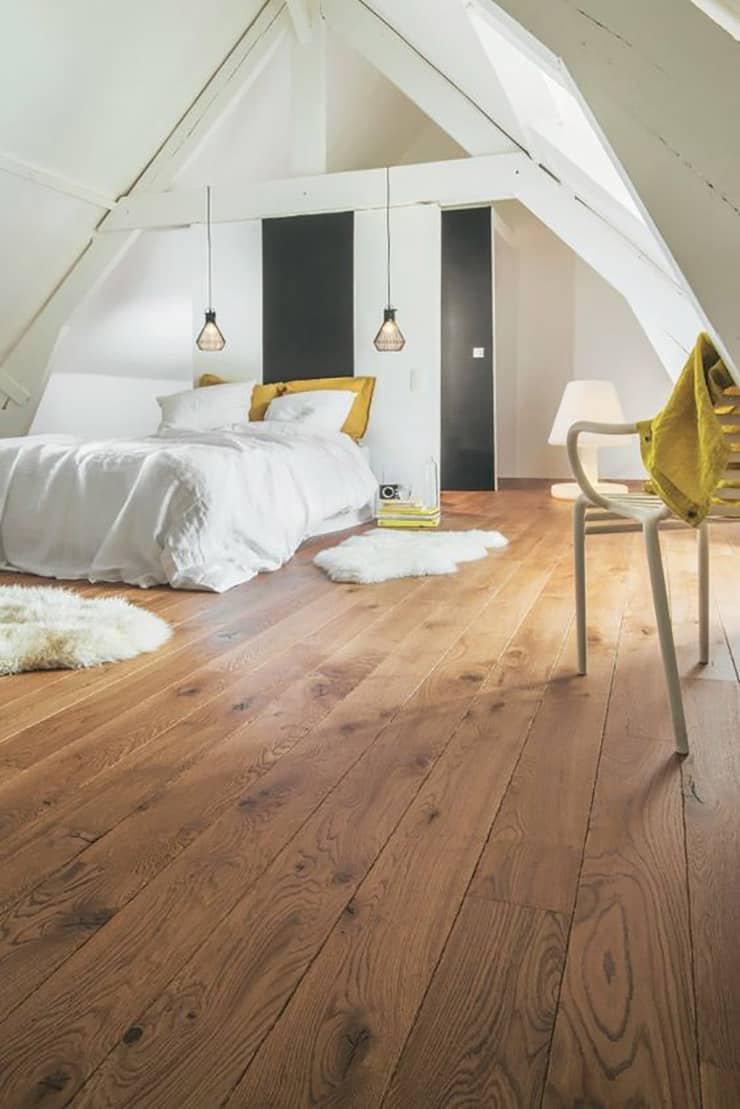
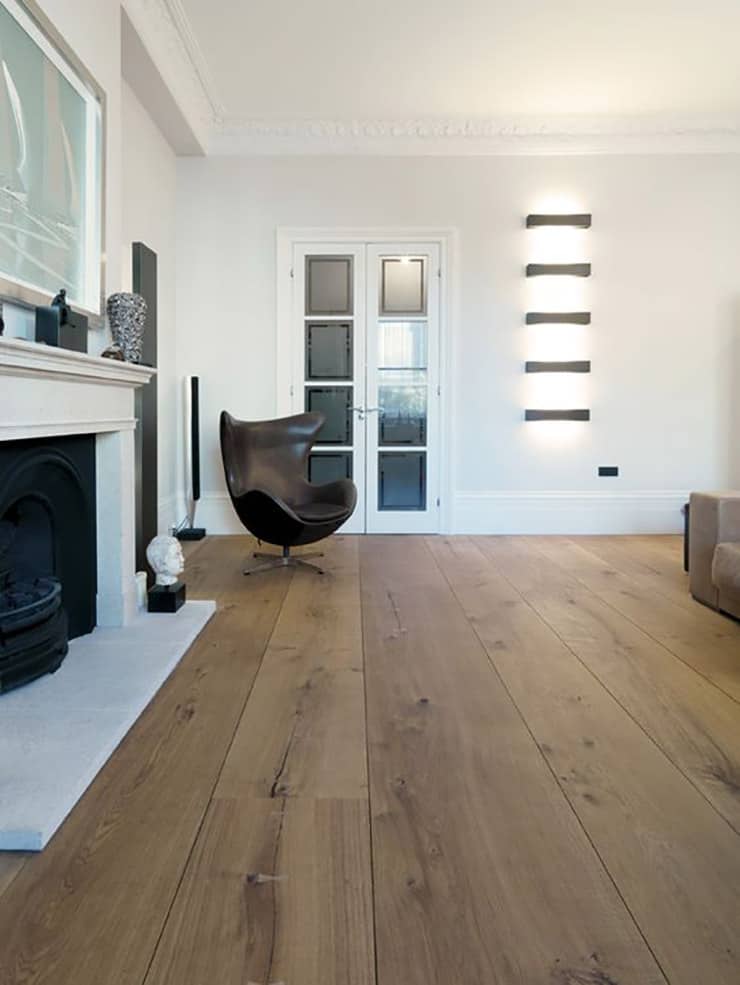
2. Irregular pattern
The battens, that may come in different lengths, are arranged in such a way that the head joints are displayed in an irregular way.
Tips
- arrange the batten sideways to the main light source
- in case of rooms with out-of-line walls, install the battens inclined to all the walls
- the installation must be centered on the main door
- if you want to make the room look longer, install the panels perpendicular to the main door
- if you want the room to look wider, install the panels parallel to the main door
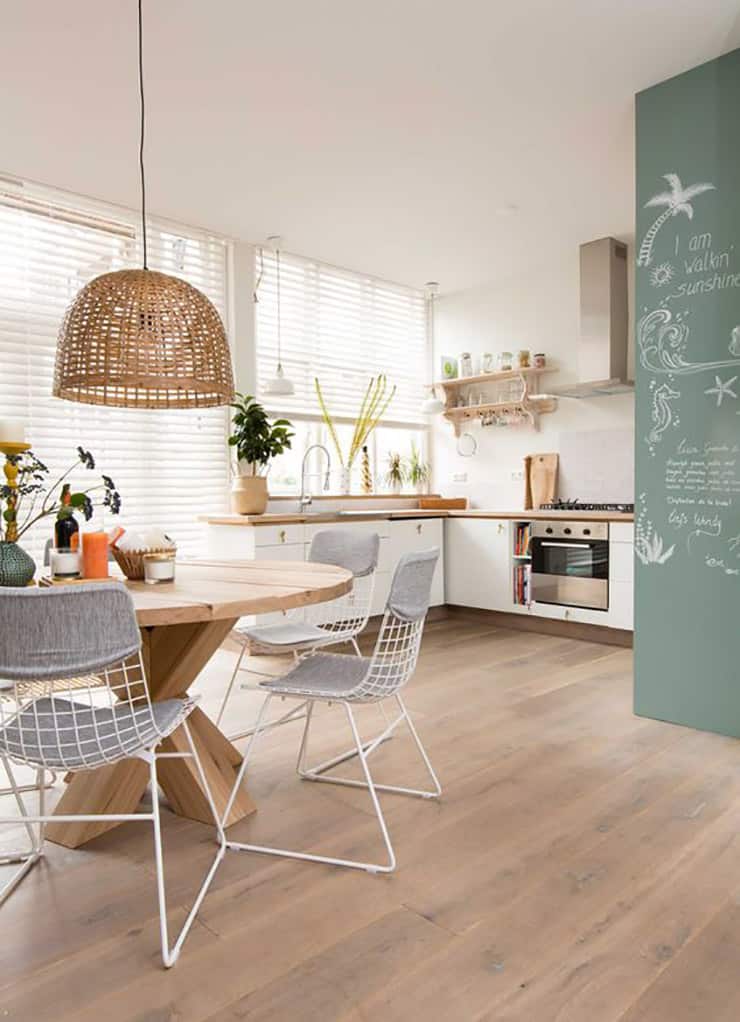
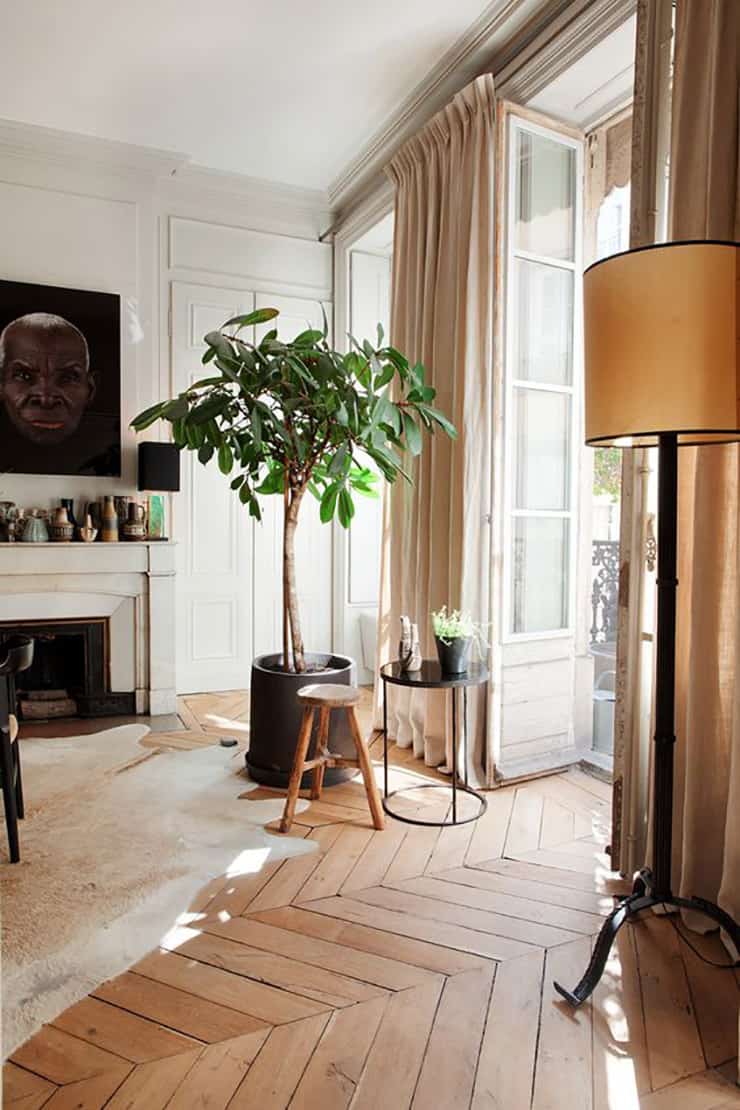
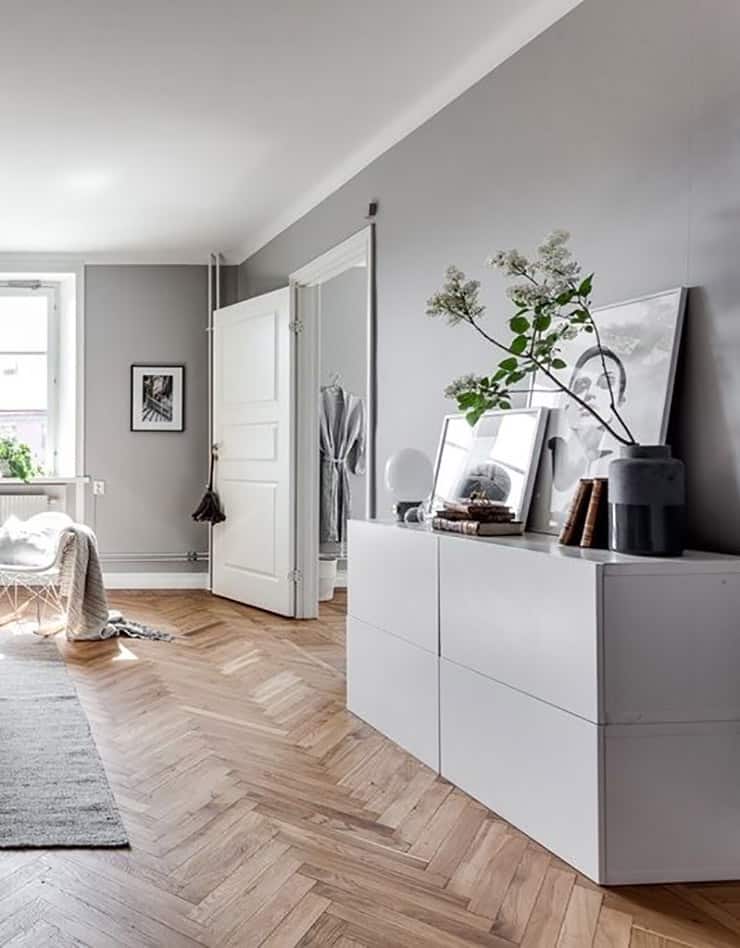
3. Herringbone
The battens are placed at an angle of 90 degrees. The installation can be linear or diagonal and it must start from the centre of the room.
Tips
- the installation must be centered on the main door
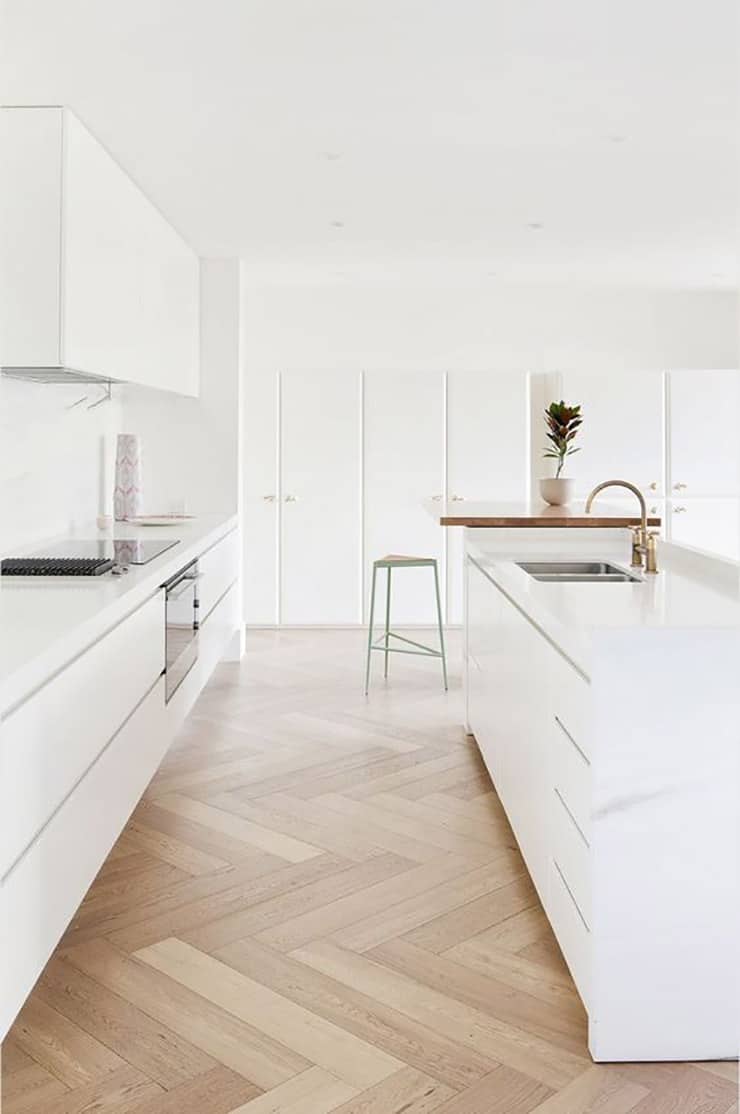
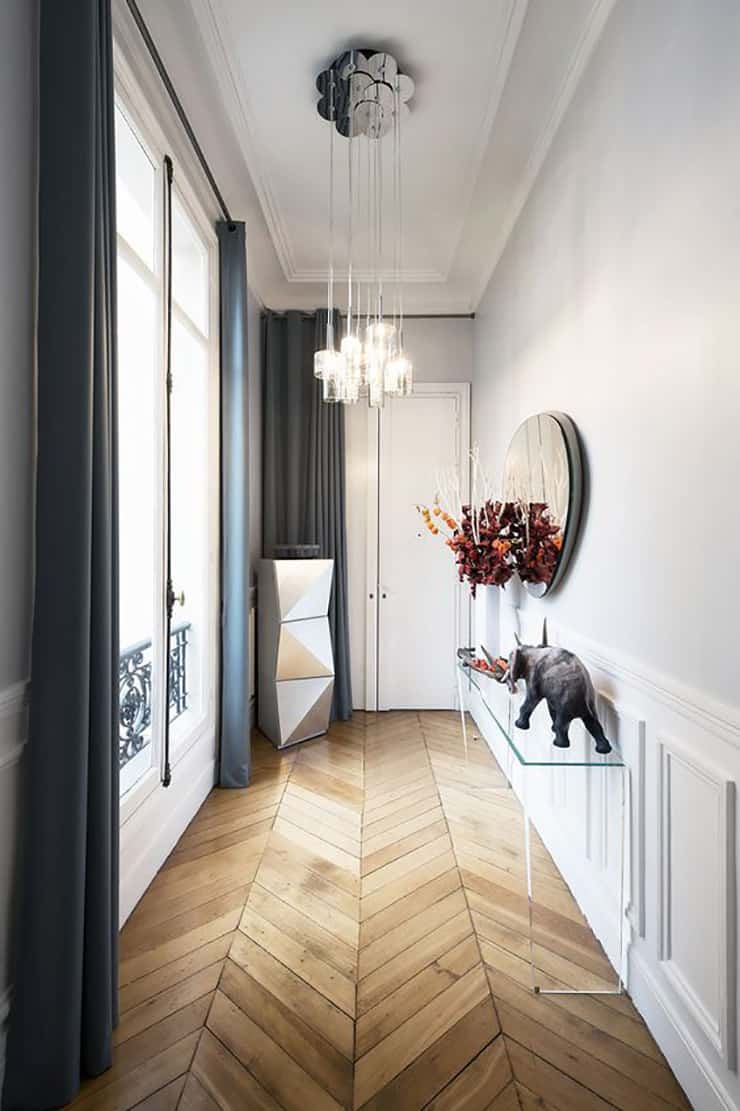
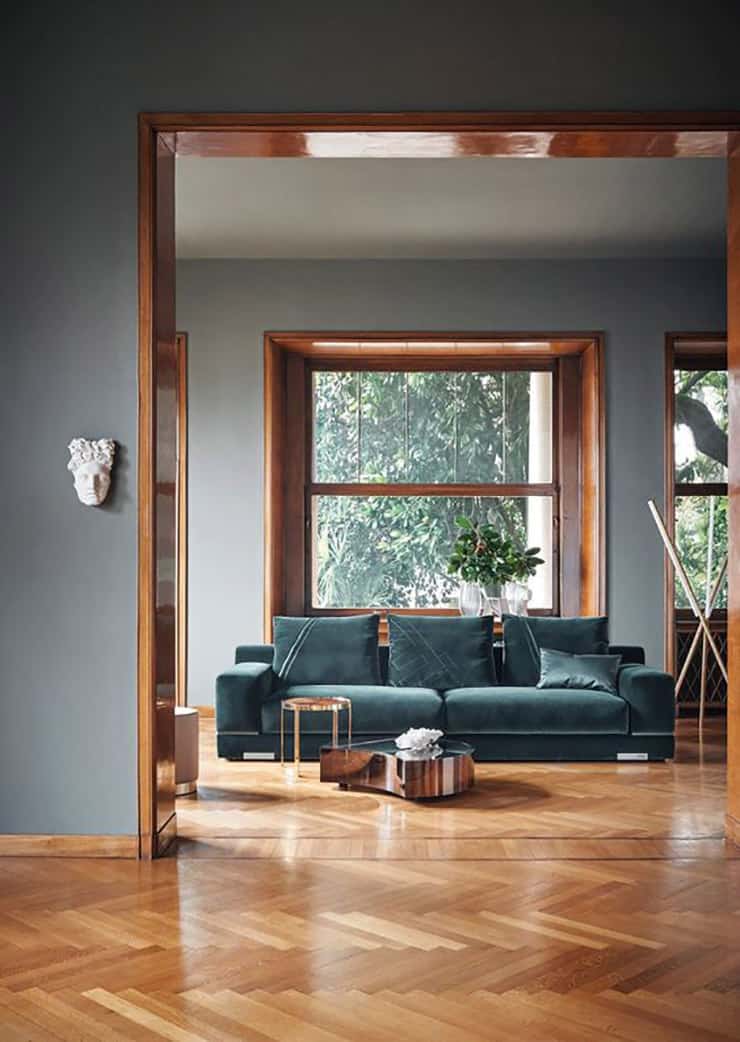
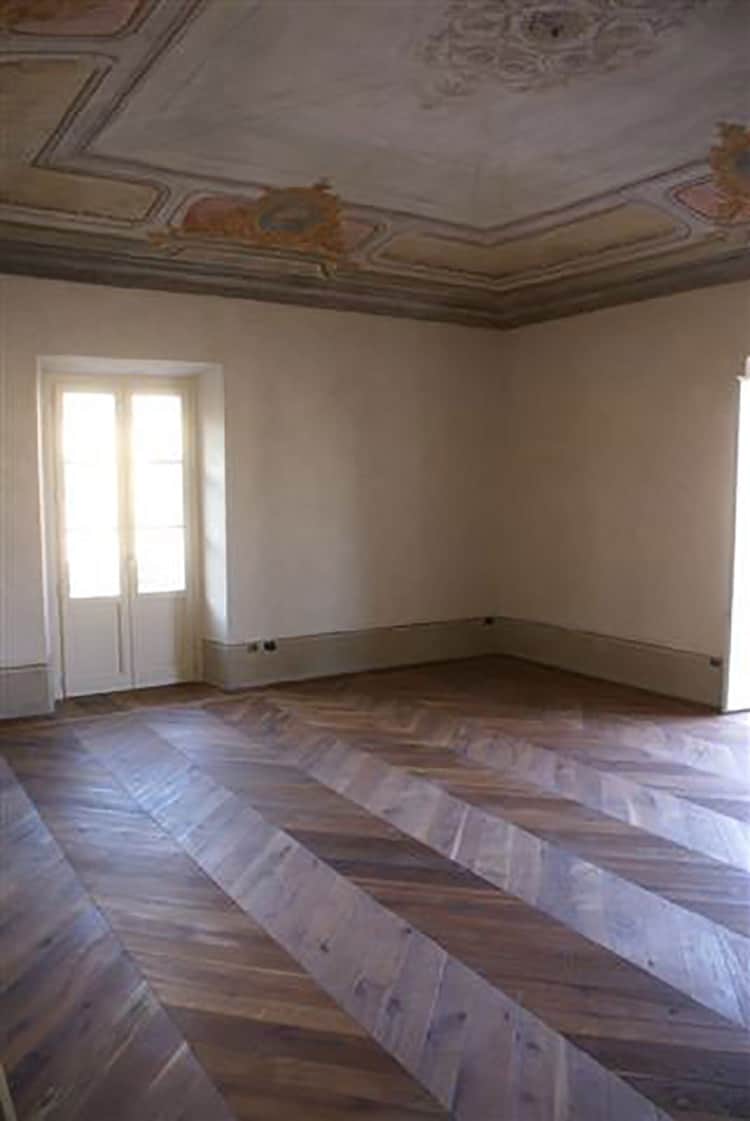
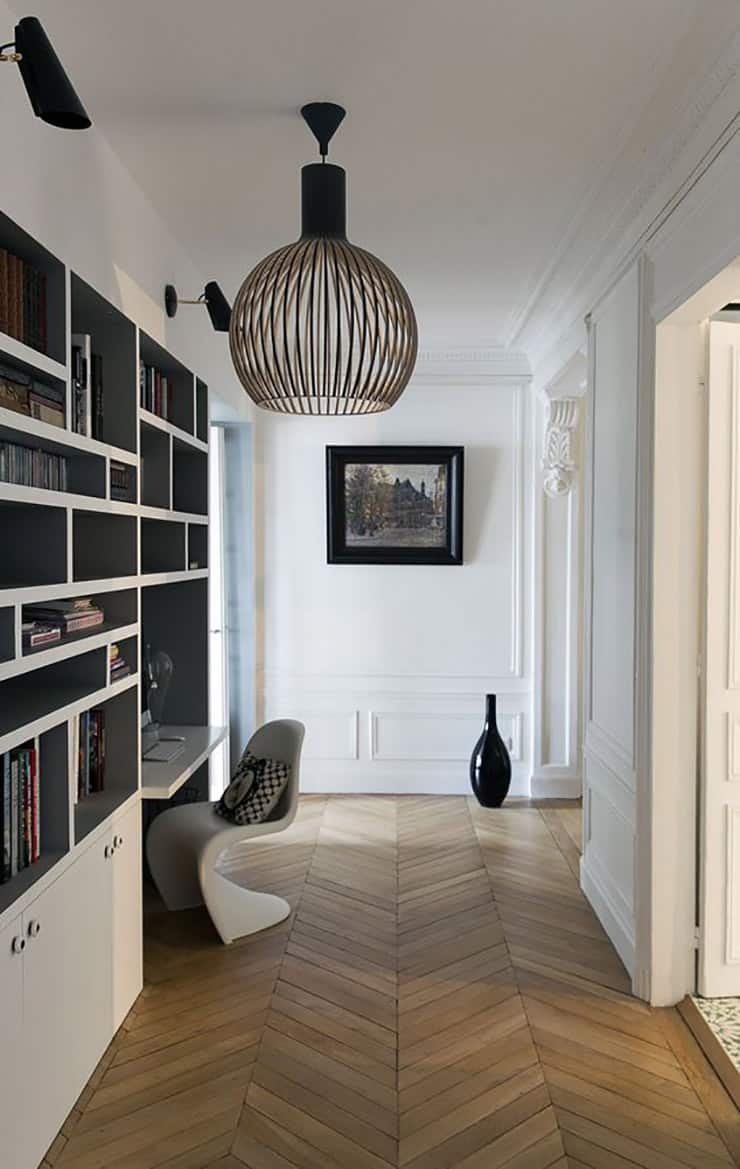
4. Chevron
The battens are placed at an angle of 90 degrees, but the short sides are cut with an inclination of 45 or 60 degrees.
Tips
- the installation must be centered on the main door
5. Square Basket
The battens are arranged to form a square. Every square is perpendicular to its neighbours.
Tips
- avoid in case of out-of-line walls
6. Decorative Borders
The perimeter and the centre of the room have different patterns. Between them, battens are installed to connect the two installation patterns.
Tips
- avoid in case of out-of-line walls
| Leibal.com |
| 10surdix.com |
| industrystandarddesign.com |
| thecoolhunter.net |
| planete-deco.fr |
| fendi.com |
| thesocialitefamily.com |
| cocolapinedesign.com |
| Romano Geom. Corrado |
| Marie Claire Maison |
| tommasogiunchi.it |
| mydecosphere.fr |
| missdesignsays.com |

Leave A Comment